Wrapping Pretty Gifts
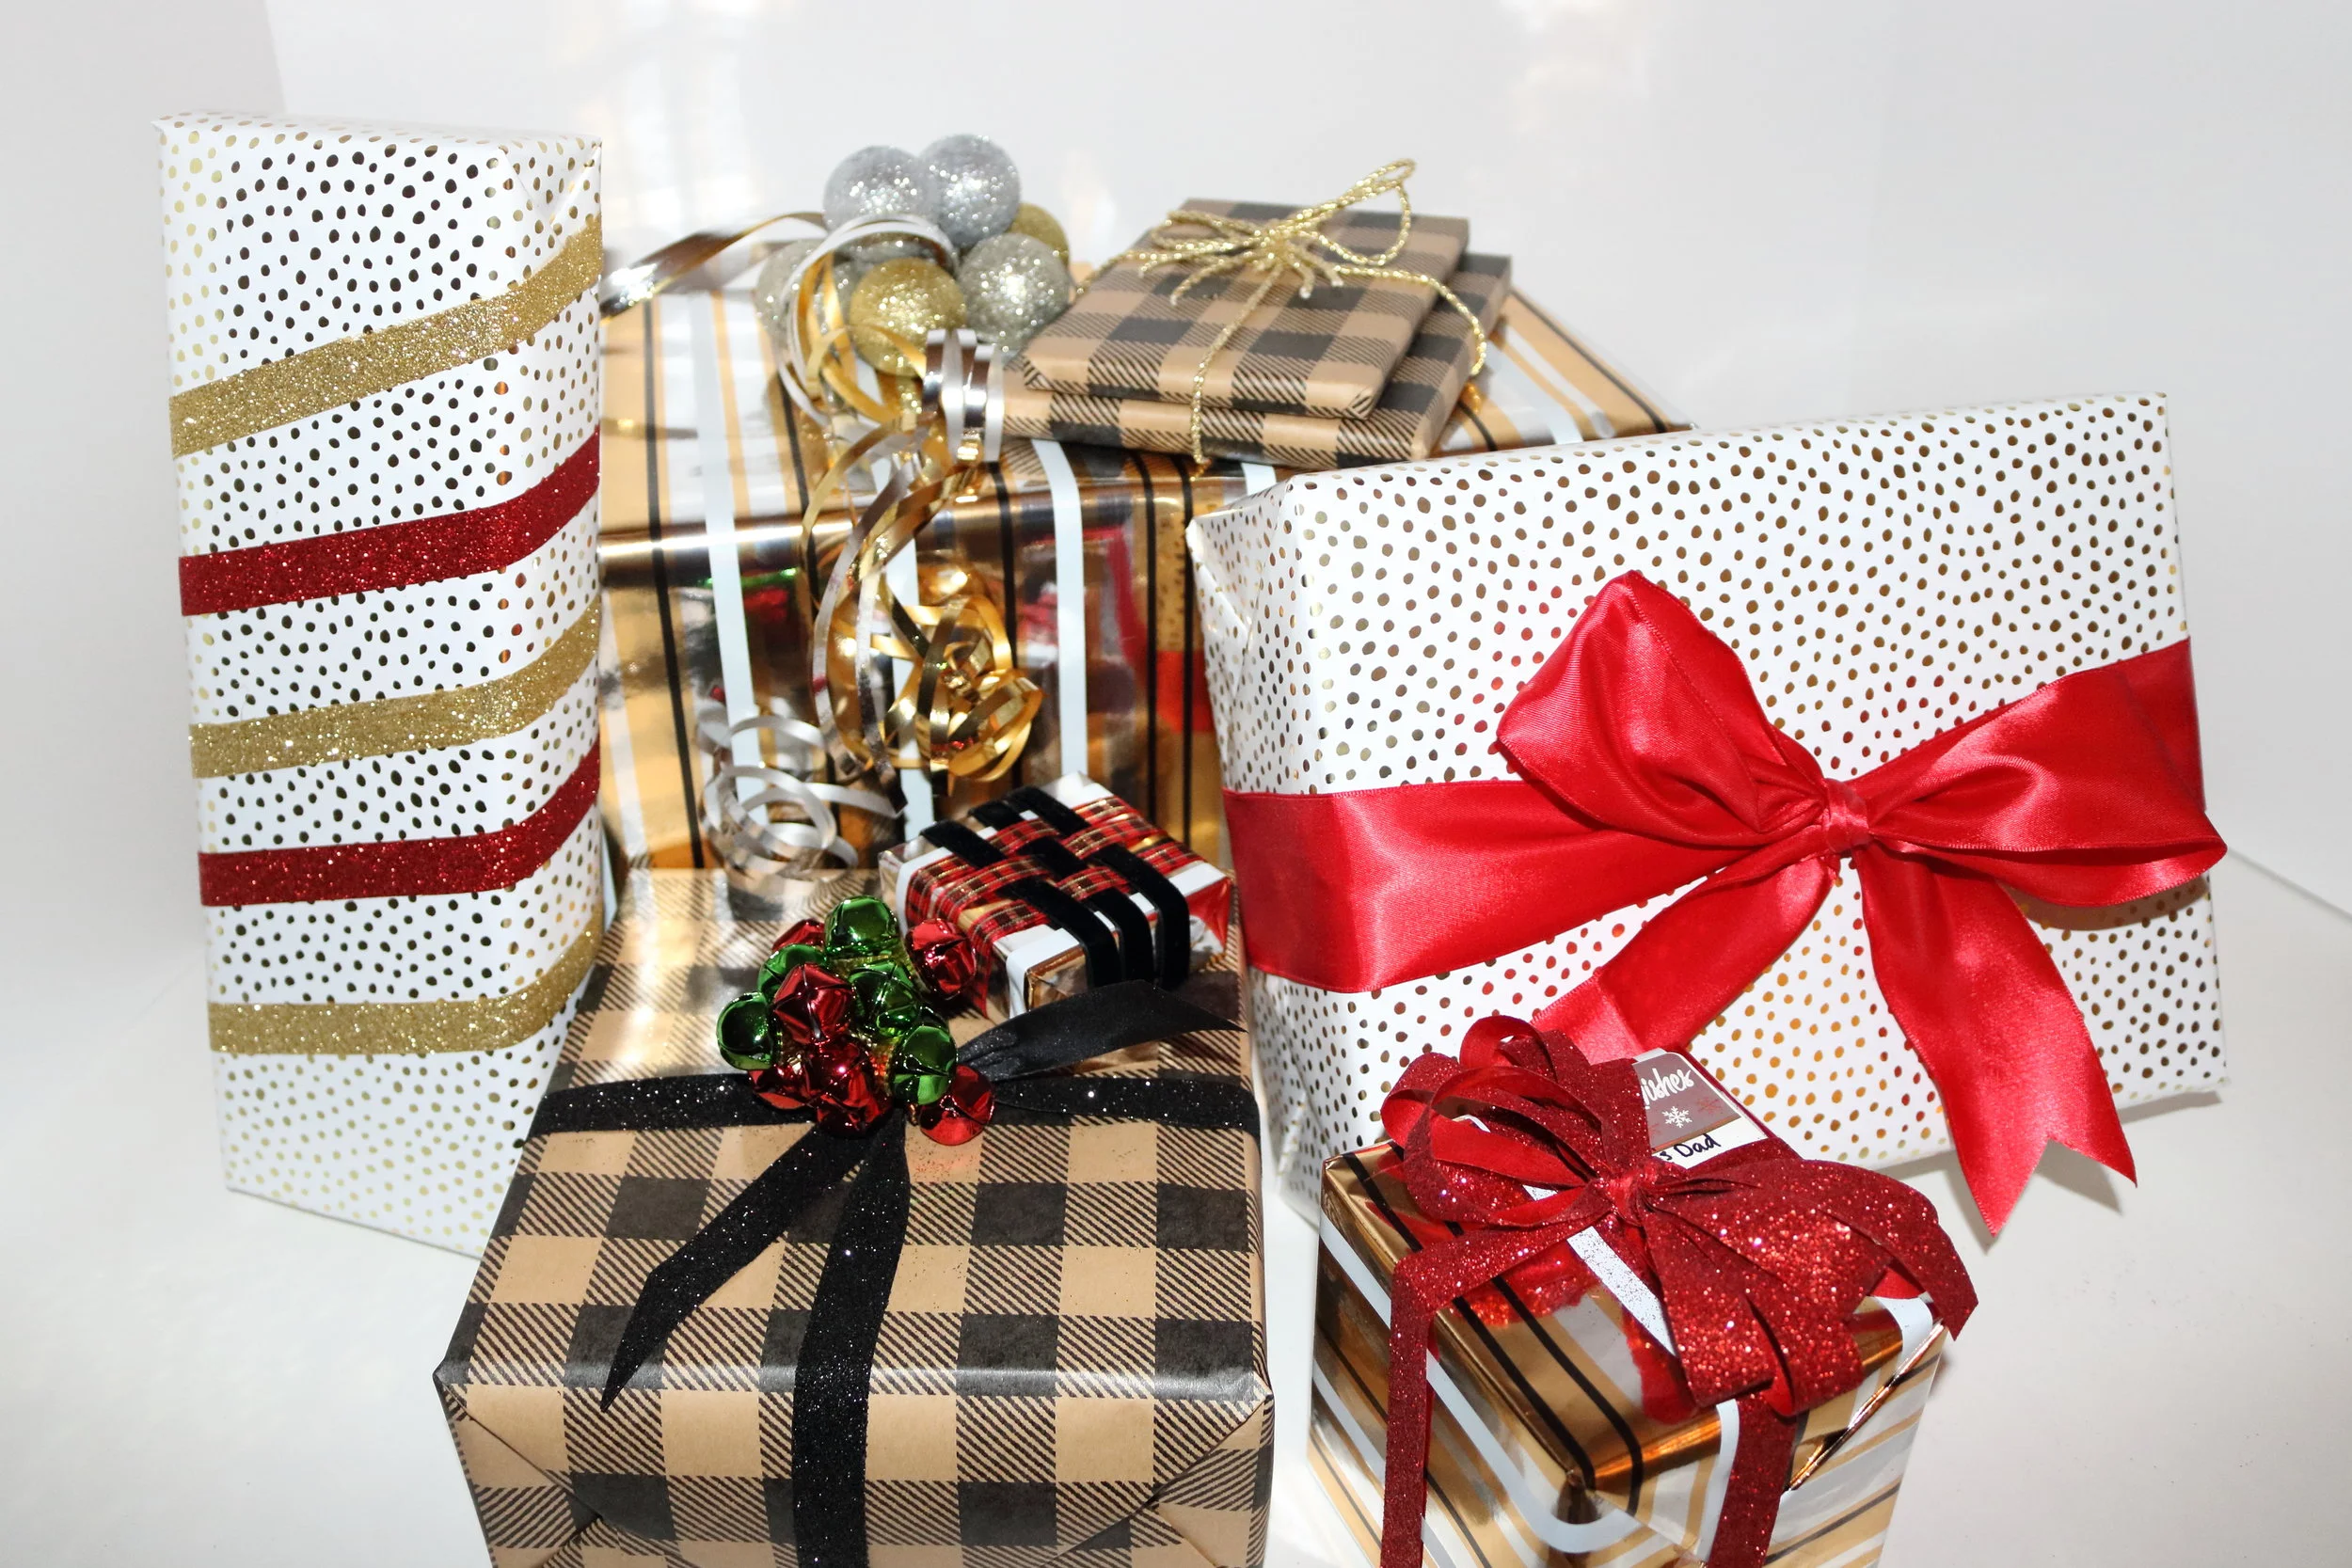
The only thing better than opening a present, is opening a beautiful present. The extra time and effort lends to the excitement. It could still be socks, but at least someone took the time to make the socks feel special. Check out a few ways I made my giftboxes look extra.
Classic Bow
This bow is done with a gold twine material and lends itself to a rustic look. I tied the two boxes together with two separate strings and did a traditional bow at the top like tying a shoe.
This red bow starts by creating a long tail and hold it in the center of the top of the box. Wrap the ribbon around the bottom of the box. When you get to the tail, wrap it around at a 90 degree angle and wrap around the bottom of the box. Bring the ribbon to the tail and tie a simple knot. From there, cut the ribbon to be even with the existing tail. Starting with a new piece of ribbon, wrap it around your hand 6-10 times. You want the width of the ribbon to be even to the diameter of the bow. Once you’ve gotten the number of revolutions you want, remove your hand and use the tails on the box to attach the wrapped ribbon. Pull out the ends and fluff to create the ribbon.
This bow might be the simplest of all, simply wrap around the box and create a traditional bow.
Bells and Baubles
For this box decoration, attach ornaments to a thin ribbon. I found my ornaments at Dollar Tree. Place the ornaments close to each other so that they cluster. After choosing the number of ornaments tie a tight knot, allowing the ornaments to bunch. Cut extra ribbon and tie it to the existing baubles. Attach to the box with a piece of tape.
The bells I found for this box were already attached to a string like garland. I simply wrapped it around it self and tied a few knots to create a cluster. Then I wrapped the box in both directions by creating a long tail and hold it in the center of the top of the box. Wrap the ribbon around the bottom of the box. When you get to the tail, wrap it around at a 90 degree angle and wrap around the bottom of the box. Bring the ribbon to the tail and tie a simple knot. From there, cut the ribbon to be even with the existing tail. Then I tied my cluster of bells to my ribbon.
Ribbon Work
For the lattice design, tape the black ribbon to the box. Wrap it around three times and tape the other end. Next I weaved the plaid ribbon through the black and taped to secure.
For the stripes, I simply taped one end of the gold ribbon to the box, wrapped until the end and secured with tape. I repeated with the red ribbon.
Some of these methods are definitely easier than others, but all of them allow the gift receiver to feel the extra love put towards their gift. Let me know below which ones you’ll try!


